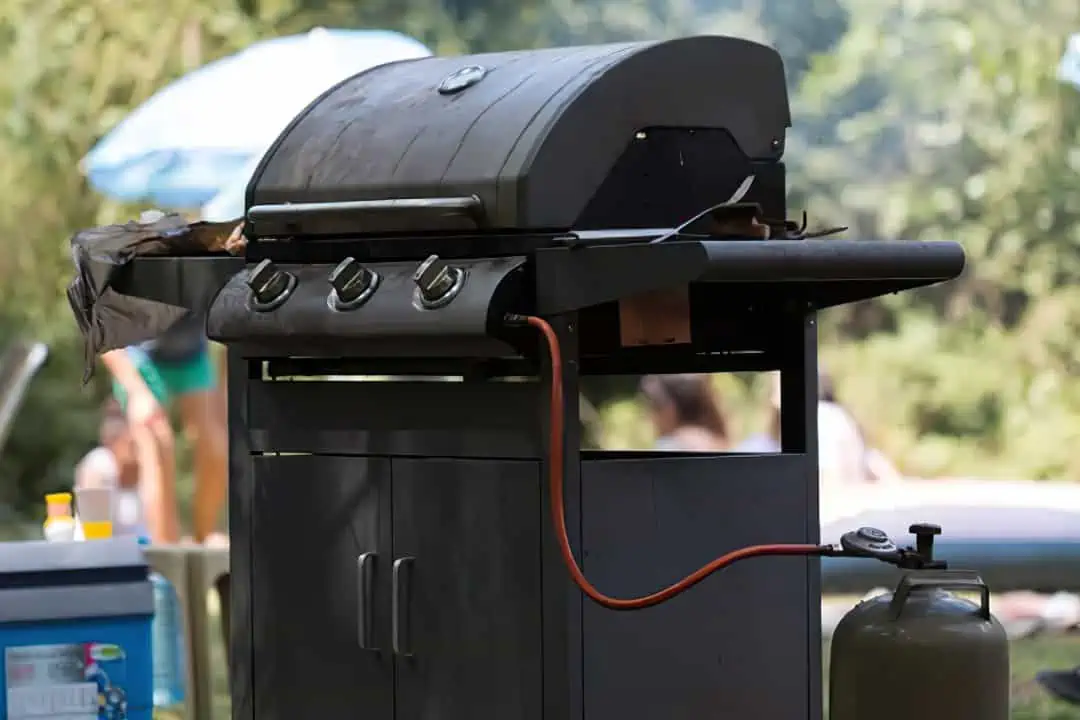
Grilling with gas grill lets you enjoy your all-time favorite grill food at the comfort of your own home. You won’t have to go for a long queue in the restaurant because you can do it just by yourself easily and quickly. But we all know that cooking with gas grill is an intimidating task to do. Thankfully, most of the gas grill in the market today has safety features and easy-to-use lighting devices. If you follow all the basic steps provided then you won’t face any future trouble.

How to Light a Gas Grill
There are few general rules that you should need to follow when lighting a gas grill. First, that you should have to do is that, you need to keep the lid of the gas grill raised while you are lighting it. You should always keep the lid raised because if you don’t do this, when you hit the ignition, the chamber will fill with gas and when that happen there is a big possibility that it might explode which might cause serious problems and I am pretty sure that you won’t like it.
Another thing that you should keep in mind is that, you need to light your gas grill somewhere where it is not windy in order to keep the with from blowing out the flame in your grill. But, be sure never light your gas grill in enclose area because you will trap all the carbon monoxide gas grill produces, this can cause health issues when inhaled or even in too much exposure.
To give you further details on how to light a gas grill, we will give you some safety ways how to do it.
- Check your cylinder if it has enough gas. Be sure that your gas grill has gauges, this tool will help you know the amount of gas left in you tank.
If gauge is out your budget, here is how you check the gas level in your tank, first, turn of the gas cylinder, then disconnect the tank. Next, get a glass of warm water then pour it down the side if the tank. Lastly, place your hand outside the tank where you poured the water, you will feel cold to touch wherever there is propane and warm when its empty. - Running out of gas in the middle of barbeque session with family and friends is a disaster so, always have an extra tank to avoid this embarrassing scenario.
- Before lighting your grill, always open the lid because if you light the grill with the lid close the gas will build up like a fireball and eventually will create explosion.
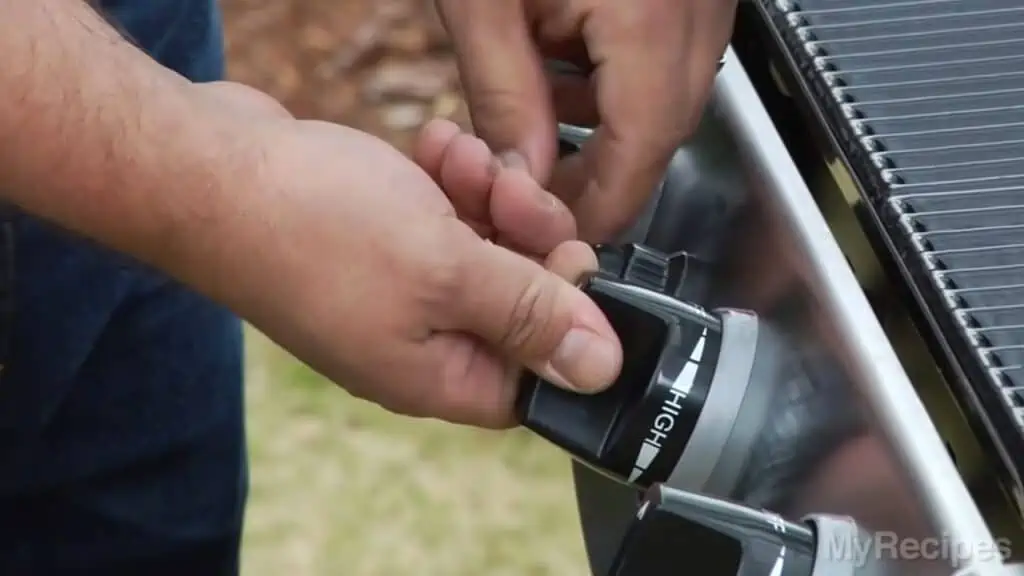
- To start the gas flowing, turn the burner knob.
- Tick the igniter and keep doing it until you see ignition.
- After you see the ignition, wait for about 20 seconds. In a 6 inches distance from the grill, feel the heat with your hand. This will signal you whether the burner is ready for its grilling job or not.
- Open the lid and let the air out the cook chamber, If the grill does not ignite. Wait for about a minute or more then redo all the steps above.
Safety Tips You Need to Remember When Lighting a Gas Grill
When you use propane gas for your gas grill remember that it is odorless and colorless so you cannot immediately notice if something is not right. This is the best time to use your olfactory sense. Propane gas emits an odor close to a skunk’s spray or rotten egg, this is the kind of odor you should smell if something goes wrong. The tank will possibly create a hissing sound this is because the pressure of the gas leaving the tank. Make sure to use all your senses to be alert for these kinds of signs. Know that when you inhale a large amount of fumes from your gas tank that has leak, you might experience unconsciousness or death suffocation also called as Asphyxiation or much worst – cardiac failure.
Whenever there is gas leak, sudden fire and explosion is possible to happen. Therefore, it is very important to read and follow the manufacturer’s instructions. But the question is how can you really tell if there is gas leak in your tank? Don’t worry because we will provide you some steps on how to check it, you can read the steps below.
How to Check If There Is a Gas Leak
Step 1: Get a 2 glass of water and powdered soap, mix it so can have a soapy water mixture then put it in a spray bottle, set aside.
Step 2: Bring your gas grill outside for testing. Always test your gas grill outside your home for safety purposes.
Step 3: Turn on the gas then spray the mixture the you made. Spray the mixture on the between the gas tank and grill. If you can see bubbles, this means that there is leakage in your gas. If this happens, immediately turn off the gas and better to call the manufacturer for assistance. If your gas grill does not function the way it must have to then expect that it may have some problems with it. Here is a simple reference to guide you on what to do if your gas grill faces a common problem and also the possible cause of that certain problem.
| GAS PROBLEM | POSSIBLE CAUSES OF THE GAS PROBLEM |
|---|---|
| No Flame | Gas is not turned on Gas train has possible leakage Obstruction in Orifices Gas tank is not connected to gas source properly Gas tank is empty |
| Low Flame | Tendency of gas train leakage Obstruction in Orifices |
| High Flame | Unmatched Orifices Size for style gas purchased Need adjustment of Venturi Air Shutter There must be Burner split |
Another issue when grilling is flare-up. Flare-up is defined as any sudden acceleration in rate of spread or intensification of fire. Flare-up happens every time you cook a food that contains fats over in an open flame. The oil or juices from the fat of the food will eventually falls on the hot ceramic rock that results to flame and smoke. Moderate amount of flare-up is highly encouraged to avoid burnt food.
Moreover, to avoid consuming burnt food, trimming of excess fat of the meat is recommended. We will provide you some tips on how to control or minimize flare-ups.
How to Control Flare-Ups
- Lower your heat setting by turning off your control knob.
- Transfer the meat to another side of the grill. If you have dual gas grill burner, you can cook on the side and placed the cooked food to another side where it has no flame.
- Open the lid of your grill while cooking to reduce the heat inside the grill head.
- To control the excessive flare-up right away, you can either throw some baking soda straight to the briquettes or just spray the flame with water. Remember when using baking soda to control the heat of your gas grill, make sure to avoid baking soda on food.
Helpful Ways to Take Care Your Gas Grill
Right ways to maintain your gas grill will not just help you from expending extra money on purchasing new one. This also prevents you from having an awful taste from your disgusting grill pan. When you often use your grill to cook food, this will probably gather dirt or grease eventually that will create an unwanted flame. So, here are some helpful ways on how to properly take care your gas grill.
- Light and turn both burners on HI heat for about ten to fifteen minutes, if you will use your gas grill for the very first time. The purpose of this is to burn off the oils that are on new surfaces of the grill. It is also suggested to put a little bit of vegetable oil on your cooking grids before you grill or cook any food.
- Burning unit every after use is never suggested nor recommended. The reason of this is that extended burning may cause premature wear on components. This can also destroy your device if left unattended.
- We advised you to lightly pat cooking grid with a nylon cleaning pad or any soft material similar to nylon cleaning pad in removing baked on foods. Do this right after the cooking grid has cooled. When using the cooking grid, the next time do not forget to spray a very small amount of oil. You can use vegetable oil or safflower oil.
- If the grids in your gas grill have lots of food residue on them, place them in a plastic bag with the cup of ammonia and leave them under the sun whole day. Before using it again make sure you wash it thoroughly.
- Use brass wire brush when cleaning the cooking grids,
- Cover your grill whenever you are not using it.
Conclusion
Lighting your gas grill may sound a complicated task, however, by following all the guides and steps will make it a piece of cake. Also follow all the safety precautions to maximize the enjoyment in grilling. Enjoy and happy cooking!
Hi, I’m Adam and I’m a HUGE fan of Food and Cooking.
Do you enjoy grilling sessions with your family while staring at the beautiful fire pit flames?
Flame Gorilla is the site to learn how to have that perfect backyard experience.

